The winner of the Sweet Pea Totes is Emily N. She said:
I follow Sweet Pea Totes on Twitter.
I have sent you an e-mail Emily! Thanks to all who entered!!
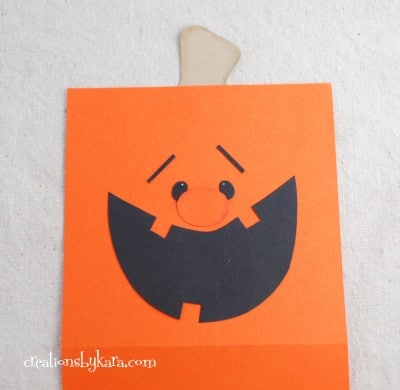
Today I am sharing a fun little Halloween treat bag. You could make them for your kiddos, or hand them out at a class party. You could even have the kids decorate their own pumpkin faces.
I also think these would be perfect for teacher or neighbor gifts. Kids shouldn't be the only ones that get the treats, right?
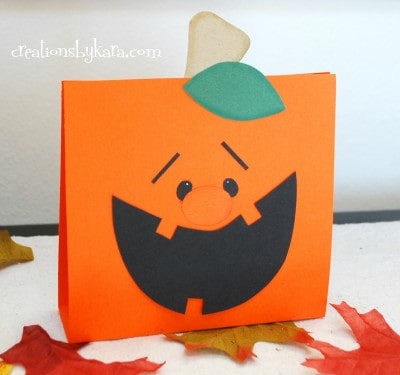 Wanna make some? Here's how:
Supplies:
12x12 sheet of orange cardstock
Scraps of paper in black, brown, and green
Treat bags that are 5" wide (I got mine at Walmart)
Scissors, ruler, stapler, and glue
Chalks or ink (0ptional)
Start with a 12x12 sheet of cardstock.
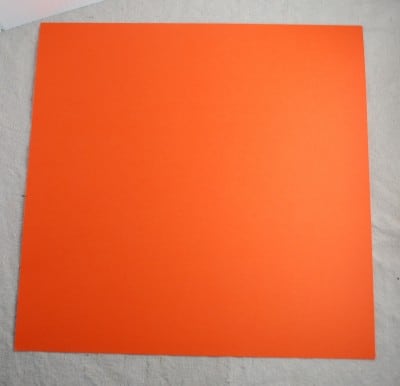 Cut a strip of cardstock that is 5 1/2" x 12".
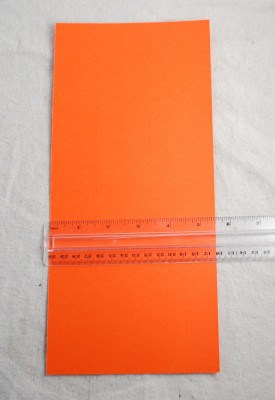 Mark the cardstock at 5 1/4" and 6 3/4".
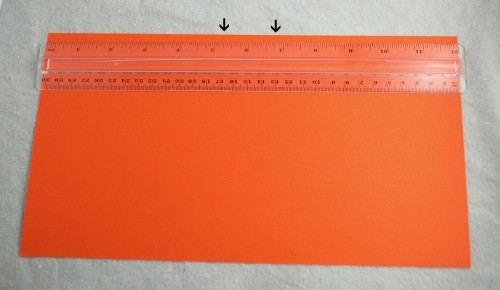 Now score the paper all the way across at the two marks.
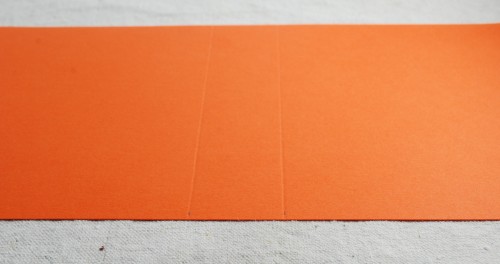 Fold at the two lines to form the bottom of your treat bag.
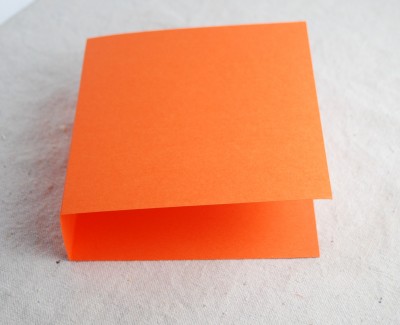 See how it makes a nice little pocket when you stand it up? Awesome!
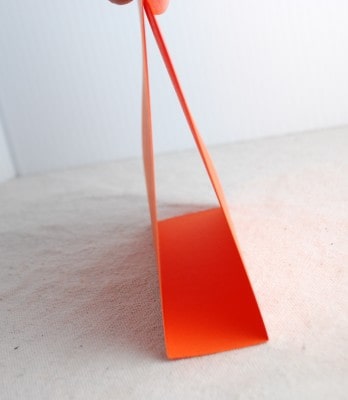 Now it's time to decorate the face. You can decorate it however you like. If you want it to be just like mine, you can use my pattern. Just click on the link and you will be able to print it off.
Pumpkin Treat Bag Pattern
After I cut out my pieces, I like to chalk the edges of the nose, stem, and leaf. But you don't have to if you don't want to. Totally optional. :)
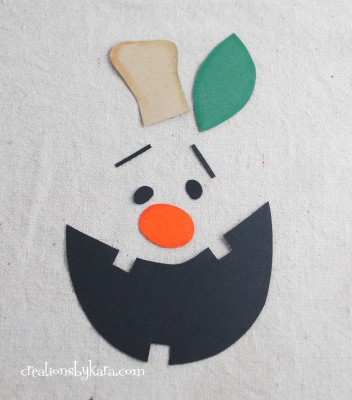 Now glue the face pieces onto the front of the bag. Glue the bottom edge of the stem to the inside of the bag. Don't add the stem yet!
 Now it's time to fill your treat bag. I use the clear plastic kind. I usually buy them at Walmart or the dollar store. They are about 5 inches wide by 11 inches tall.
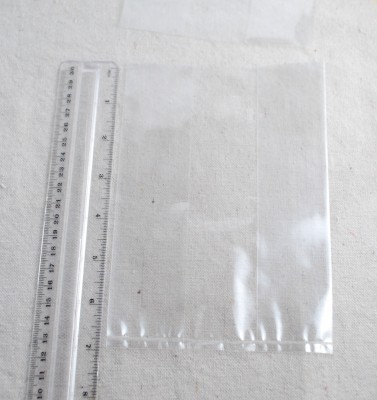
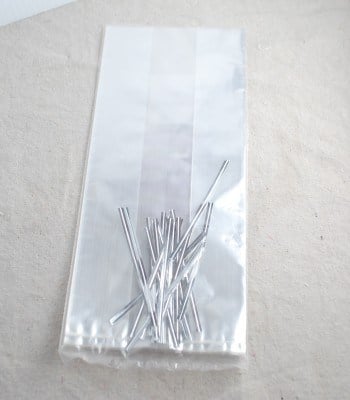 They are too tall for this project, so I just cut off the top. You want your bags to be about 7" tall.
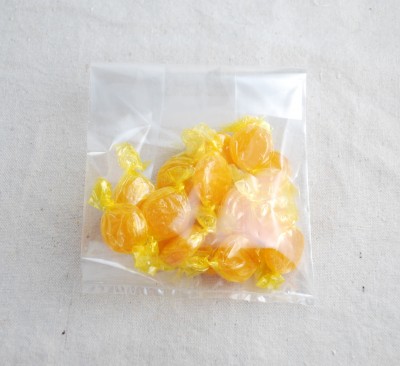
 Fill your bag with candy, cookies, or whatever goodies you would like. Then fold the top over and tape it closed. (Don't over-fill, you need to be able to staple the top.)
 Now slide the bag of treats inside your pumpkin. Make sure the top of the treat bag is lined up with the top edge of your pumpkin. Now staple through all three layers.
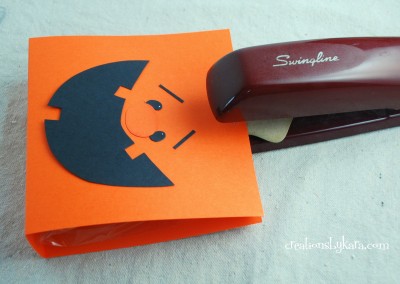 Now take your leaf and glue it right on top of the staple. Cool, huh? No one will even know it's there.
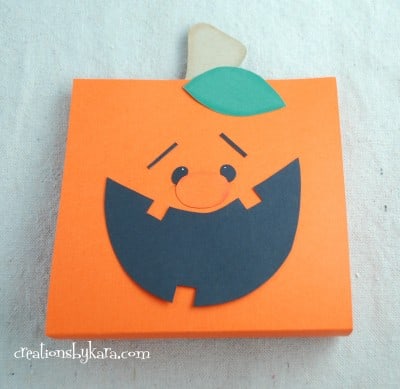 That's it. Now all you have to do is deliver them to some lucky recipients! :)
Thanks so much for having me Karen!
What a cutie! His mouth cracks me up:) Thanks for stopping by Kara! She has such a creative blog, you have to stop by. Here is one of my favorite's from Kara:
Aren't those rosette rings just the cutest? Check out her tutorial here.




No comments:
Post a Comment
Thank you so much for your comments...I love them!!