Showing posts with label felt flowers. Show all posts

Thursday, February 23, 2012

Changing my purse from cute to CAUUUTE!!


 So I have this purse.  I really liked it when I bought it last year.  I had an idea of something I wanted to do to it to add a little POP color. 

Shoot, I forgot to take a before picture.  Well, you can imagine what it looked like with out the pretty flowers, can't you?  


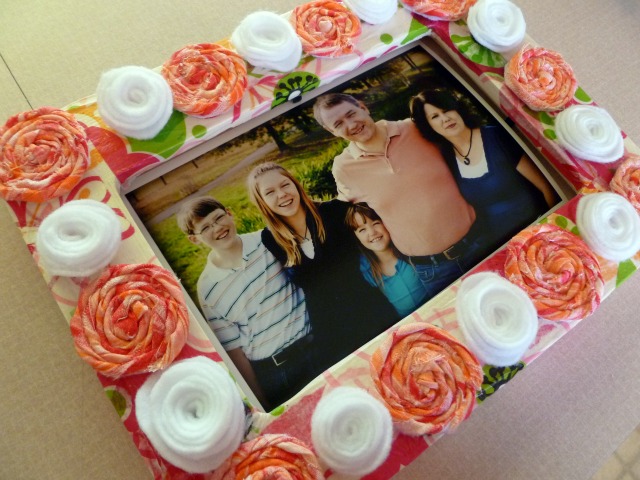
I LOVE these cute flowers!  I can't get enough of them!!  I found another awesome tutorial on how to make them and some other fancy ones. 

You should try and make some of these.  They are easy and FUN to make!  

Have a great day.  See you tomorrow for Friday Frolic:)

Saturday, August 6, 2011

New Obsession: Yellow and Grey

Have you noticed how much Yellow and Grey you have seen around lately?  I am lovin' everything Yellow and Grey.  I can't get enough of it.  I want to redo my whole house in Yellow and Grey!
Recently I have been looking on Pinterest and here are some of my favorite Yellow and Grey finds:
Isn't this the cutest nursery in the whole wide world?  If I had another baby (which I am NOT), I would decorate the room like this!

Who would have thought to paint their walls Grey?  I love how it looks with this bedding and especially the headboard!!

Such a sweet card!  Love the cute little butterflies...

I want...I want...really bad!  Love this Joel Dewberry Fabric.

I love this song!  My mom used to always sing this to my at night:)  It gives me warm fuzzies....

This felt flower is so pretty!  Just love the color combination.

I love all the cute digital scrapbook paper out there!  This would make some awesome layouts.

These are just a few of my favorites.  What do you think of Yellow and Grey?  Which one is your favorite?

Saturday, May 21, 2011

Fabric Rosette Headbands

My friends Tami had asked me to make 5 rosette headbands for her granddaughters.  I LOVE, LOVE making these headbands and I have a gynormous amount of fabric that I need to get rid of  use up. I spent a lot of the afternoon today making them, and I love how they turned out.

 Take a gander:


 I am in LOVE with the blue one!  The polka dots make me happy:)

I love how easy these are to make.  Go here for an super easy tutorial!  There is one thing I do that she doesn't in her tutorial.  I like to wrap strips of fabric around the headband first. 

 I think it looks nice and I like to coordinate the fabric with the rosettes.  You don't have to do this, but I did and it doesn't take much time at all!

I just rip a strip of fabric about 1-2 inches wide and as long as you want.  You can always cut off the excess later, or add more if you need too.  I use my glue gun to adhere the fabric at each end of the headband.  EASY!!

  Have a fabulous weekend!! See you Monday with another shirt redo.  I can't wait to show you:)

Linking at these Lovely Blogs:
Young and Crafty
Lolly Jane Boutique
Craftomaniac
I Heart Naptime

Friday, April 8, 2011

Mod Podged Frame with felt and fabric

I am looking for crafty people who would be interested in being a guest blogger!  If you are crafty, sew, or cook, and think you would be interested in doing a tutorial, share a recipe, etc. , please e-mail me at kweight@byu.net.  I would love to have a guest blogger once a week. I look forward to hearing from you! 

I love when you can make a craft for about $2!  I bought the frame a few months ago at Michael's, the tissue paper at Walmart and have a TON left, I had the fabric and felt already on hand.

Here is what you need:

Wood frame from $1 section of Michael's or other craft store
Tissue
Mod Podge
fabric
felt
picture
glue gun

I sanded my frame a little and painted it light Ivory.

I just painted one coat of paint.
Next, I ripped lots of strips of the tissue in different sizes. 
Now is the messy part!  Start sponge brushing Mod Podge all over the frame and press pieced of tissue all over the front and sides.  Sometimes I had to rip the piece to make it fit well.  No biggie.  It will look great no matter what.  You can't really go wrong with this!
I let the frame dry in the sun (yes, we actually had some today!).  It took about 1/2 hour.
This is where I fit the picture in and made sure all the flowers fit well on the frame before I glued them all down.

Here it is all finished and in my garden window!  I really love the tissue underneath.  It gives the frame a little more POP of color.  

Today has been such a beautiful day!  The sun is out and the trees are blooming!  It's amazing what a great mood the sun can put me in:)

I am linking up to these parties:
Fingerprints on the Fridge
Shanty 2 Chic 
Sassy Sites 
Spunky Junky 
Tatertots and Jello 
Mad Skills Party 
C.R.A.F.T. 
Craftoholics Anonymous 
Creative Crate 
Craftomaniac
Related Posts Plugin for WordPress, Blogger...